To tie a bow tie, drape it around your neck with one end slightly longer, cross the long end over and up through the neck loop, fold the short end into a bow shape, drop the long end over it, then fold the long end into a second loop and push it through the knot behind the front bow. It is the same knot as tying a shoelace, done on yourself in a mirror.
Expect the first attempt to take five minutes and look rough. By the fifth try it takes under a minute.
Before you start: set the size
Most self-tie bow ties have a slider or hook-and-eye band to set the neck size. Set it to your collar size (the neck measurement of your shirt) before you tie. If the band is too long, the bow will sit loose and droop; too short and the bow will be squeezed small and wrinkled.
Tie it with your shirt collar buttoned and turned up, so the band sits around the collar, then fold the collar down over it when you have finished. With a wing collar, the band sits in front of the collar's stand and the wings tuck behind the bow.
How to tie a bow tie in 8 steps
In these steps, A is the end on your left, which you set slightly longer, and B is the shorter end on your right.
- Drape it. Put the tie around your neck, under the raised collar. Let end A hang about an inch and a half lower than end B.
- Cross. Cross A over B, right at the base of your throat.
- Tuck up. Bring A up behind the cross and out through the neck loop, then pull it snug. You now have a simple knot, with A hanging over your shoulder or down your chest.
- Make the front bow. Take B, the end now hanging at the front, and fold it back on itself at its widest point to form a bow shape. Hold it horizontally across the knot, against your collar points.
- Drop A over it. Bring A straight down over the middle of the bow you are holding.
- Fold A into a loop. Pinch A into its own bow shape at its widest point, pointing in the opposite direction to the front bow.
- Push it through. Push the folded part of A through the small loop behind the front bow, the one formed by the knot. Pull it halfway through so it becomes the back bow.
- Tighten and balance. Pull gently on the folded loops on opposite sides to tighten, then on the loose ends to adjust. Straighten until both sides are level and the same size.
Troubleshooting
| Problem | Likely cause | Fix |
|---|---|---|
| Bow is lopsided | The ends started at almost the same length, or one loop was pulled more than the other | Pull the shorter loop and the opposite end together. If it is badly off, untie and start A a little longer |
| One side much bigger | The starting difference between A and B was too big | Start again with A only about an inch and a half longer than B |
| Bow is too small or scrunched | Band set too short, or knot pulled too tight | Lengthen the slider one notch; tighten by the loops, not the ends |
| Bow is loose and droops | Band set too long, or the first knot (step 3) was not snug | Shorten the band, and pull step 3 firm against the throat |
| Bow sits tilted | The knot is off-center or the collar is uneven | Twist the whole knot gently to level it; check the collar is fully buttoned |
| Bulky lump in the middle | Too much fabric gathered in the knot | Fold B and A flatter in steps 4 and 6, and smooth the center knot with your thumb |
| Collar points show over the bow | Bow too narrow for the collar, or collar points too long | Wear a fuller bow, or a shirt with shorter points or a wing collar |
| Comes undone during the evening | Loops pulled through too far, leaving short tails | Leave more of the folded loops through the knot; pull them tight before going out |
Bow tie size and shape
A well-proportioned bow tie is about as wide as the distance between the outer corners of your eyes and should not extend past the edges of your collar. The common shapes are the butterfly (fuller, rounded wings, best with wide peak lapels and wing collars) and the batwing (straight and slim, best with slim lapels). Match the width of the bow to the width of your lapels.
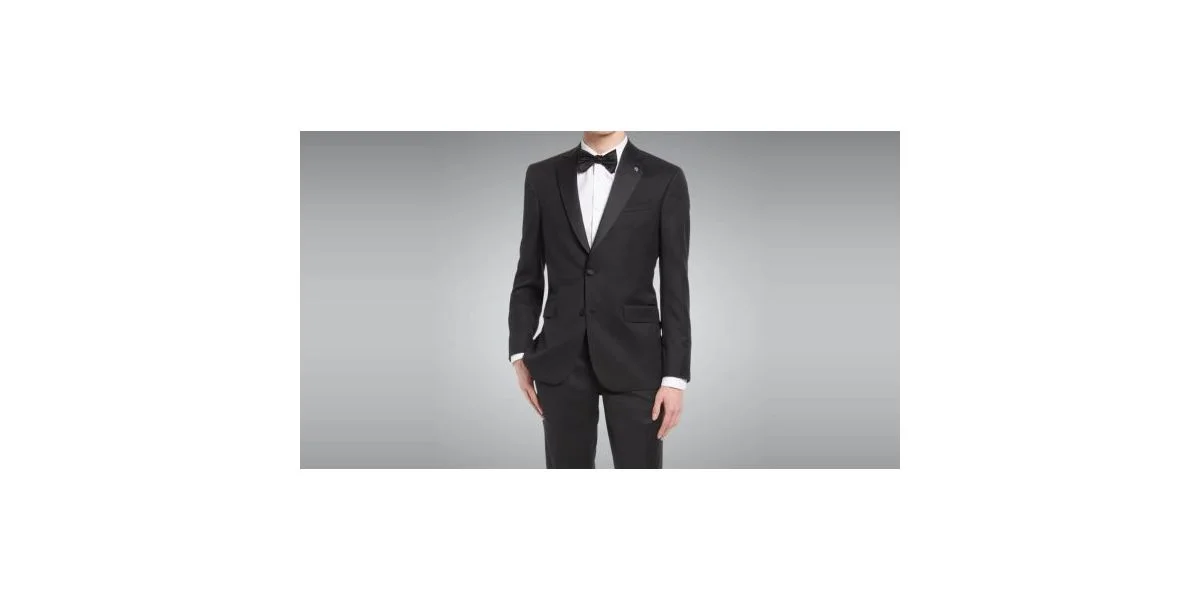
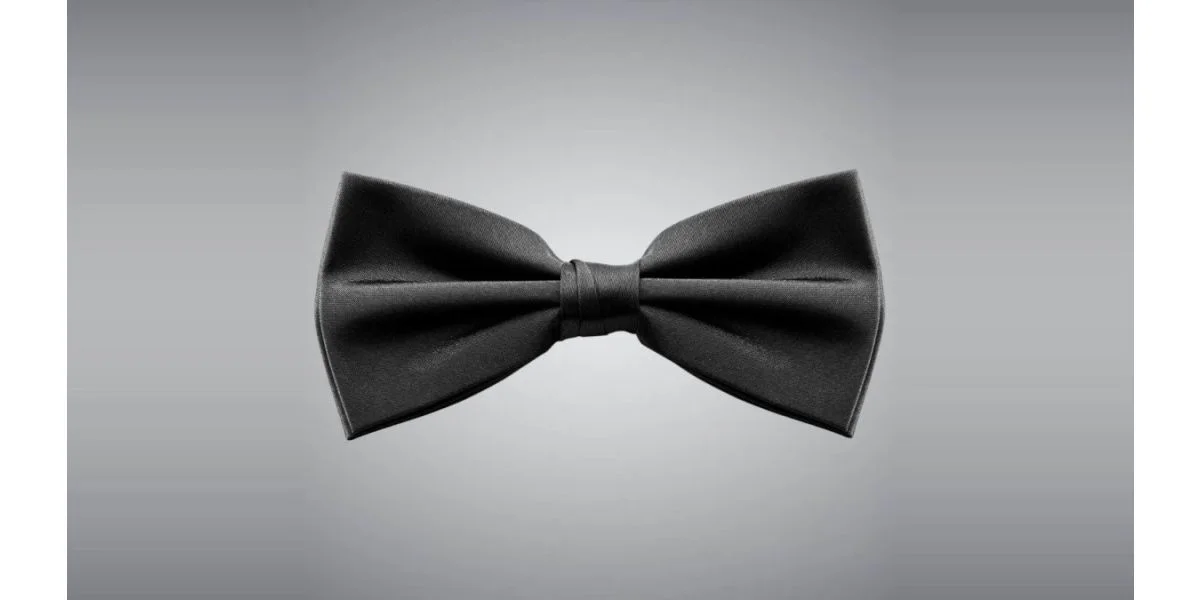
Black is the bow tie for black tie, and it should match the lapel facing in sheen. A white bow tie belongs with white tie and a tailcoat, which is a different dress code; see white tie vs black tie.
Our Black Bow is the one for a tuxedo, and the White Bow is there for white tie. Both are pre-tied on an adjustable band, so they need no tying; the steps above are for self-tie bow ties. See all bow ties, and if you are still choosing the shirt it will sit on, read our tuxedo shirt guide.
Self-tie or pre-tied?
Both are acceptable at black tie. A self-tied bow looks slightly irregular, which is the point: it reads as real. It can also be untied and left hanging open late in the evening. A pre-tied bow is perfectly level all night and takes no practice. If you choose self-tie, practice three or four times in the week before the event, not an hour before you leave.
Questions
How long does it take to learn to tie a bow tie?
Most men get a presentable knot within four or five attempts. Practice in front of a mirror with your shirt on and the collar raised.
Is tying a bow tie the same as tying shoelaces?
Yes, it is the same knot. The difference is that you tie it on yourself, so everything is reversed in the mirror. Some men find it easier to tie it looking down, without a mirror, then check it.
Should a bow tie be wider than my neck?
It should be roughly the width of your face between the outer corners of the eyes and stay within the edges of the collar.